
How to Create a Green Sprout Kitchen at Home: Tips and Recipes


Creating a green sprout kitchen at home is an exciting and rewarding way to bring fresh, nutritious food into your diet. Not only does it allow you to enjoy the freshest produce, but it also contributes to a more sustainable lifestyle by reducing waste and food miles. This guide will walk you through the steps to set up your own sprout kitchen and offer some delicious recipes to try with your homegrown greens.
Why Choose a Green Sprout Kitchen?
Sprouting is a simple process of germinating seeds which turns them into nutrient-packed superfoods. When you grow sprouts at home, you're not just saving money; you're also ensuring that you consume food free from harmful pesticides and preservatives. Sprouts are rich in essential vitamins, minerals, and enzymes, making them a fantastic addition to any diet.

Getting Started: Setting Up Your Sprout Kitchen
Choose Your Seeds
The first step in creating a green sprout kitchen is selecting the right seeds. Popular choices include alfalfa, mung beans, lentils, broccoli, and radish. When choosing seeds, ensure they are specifically labeled for sprouting to guarantee they are safe and free from contaminants.
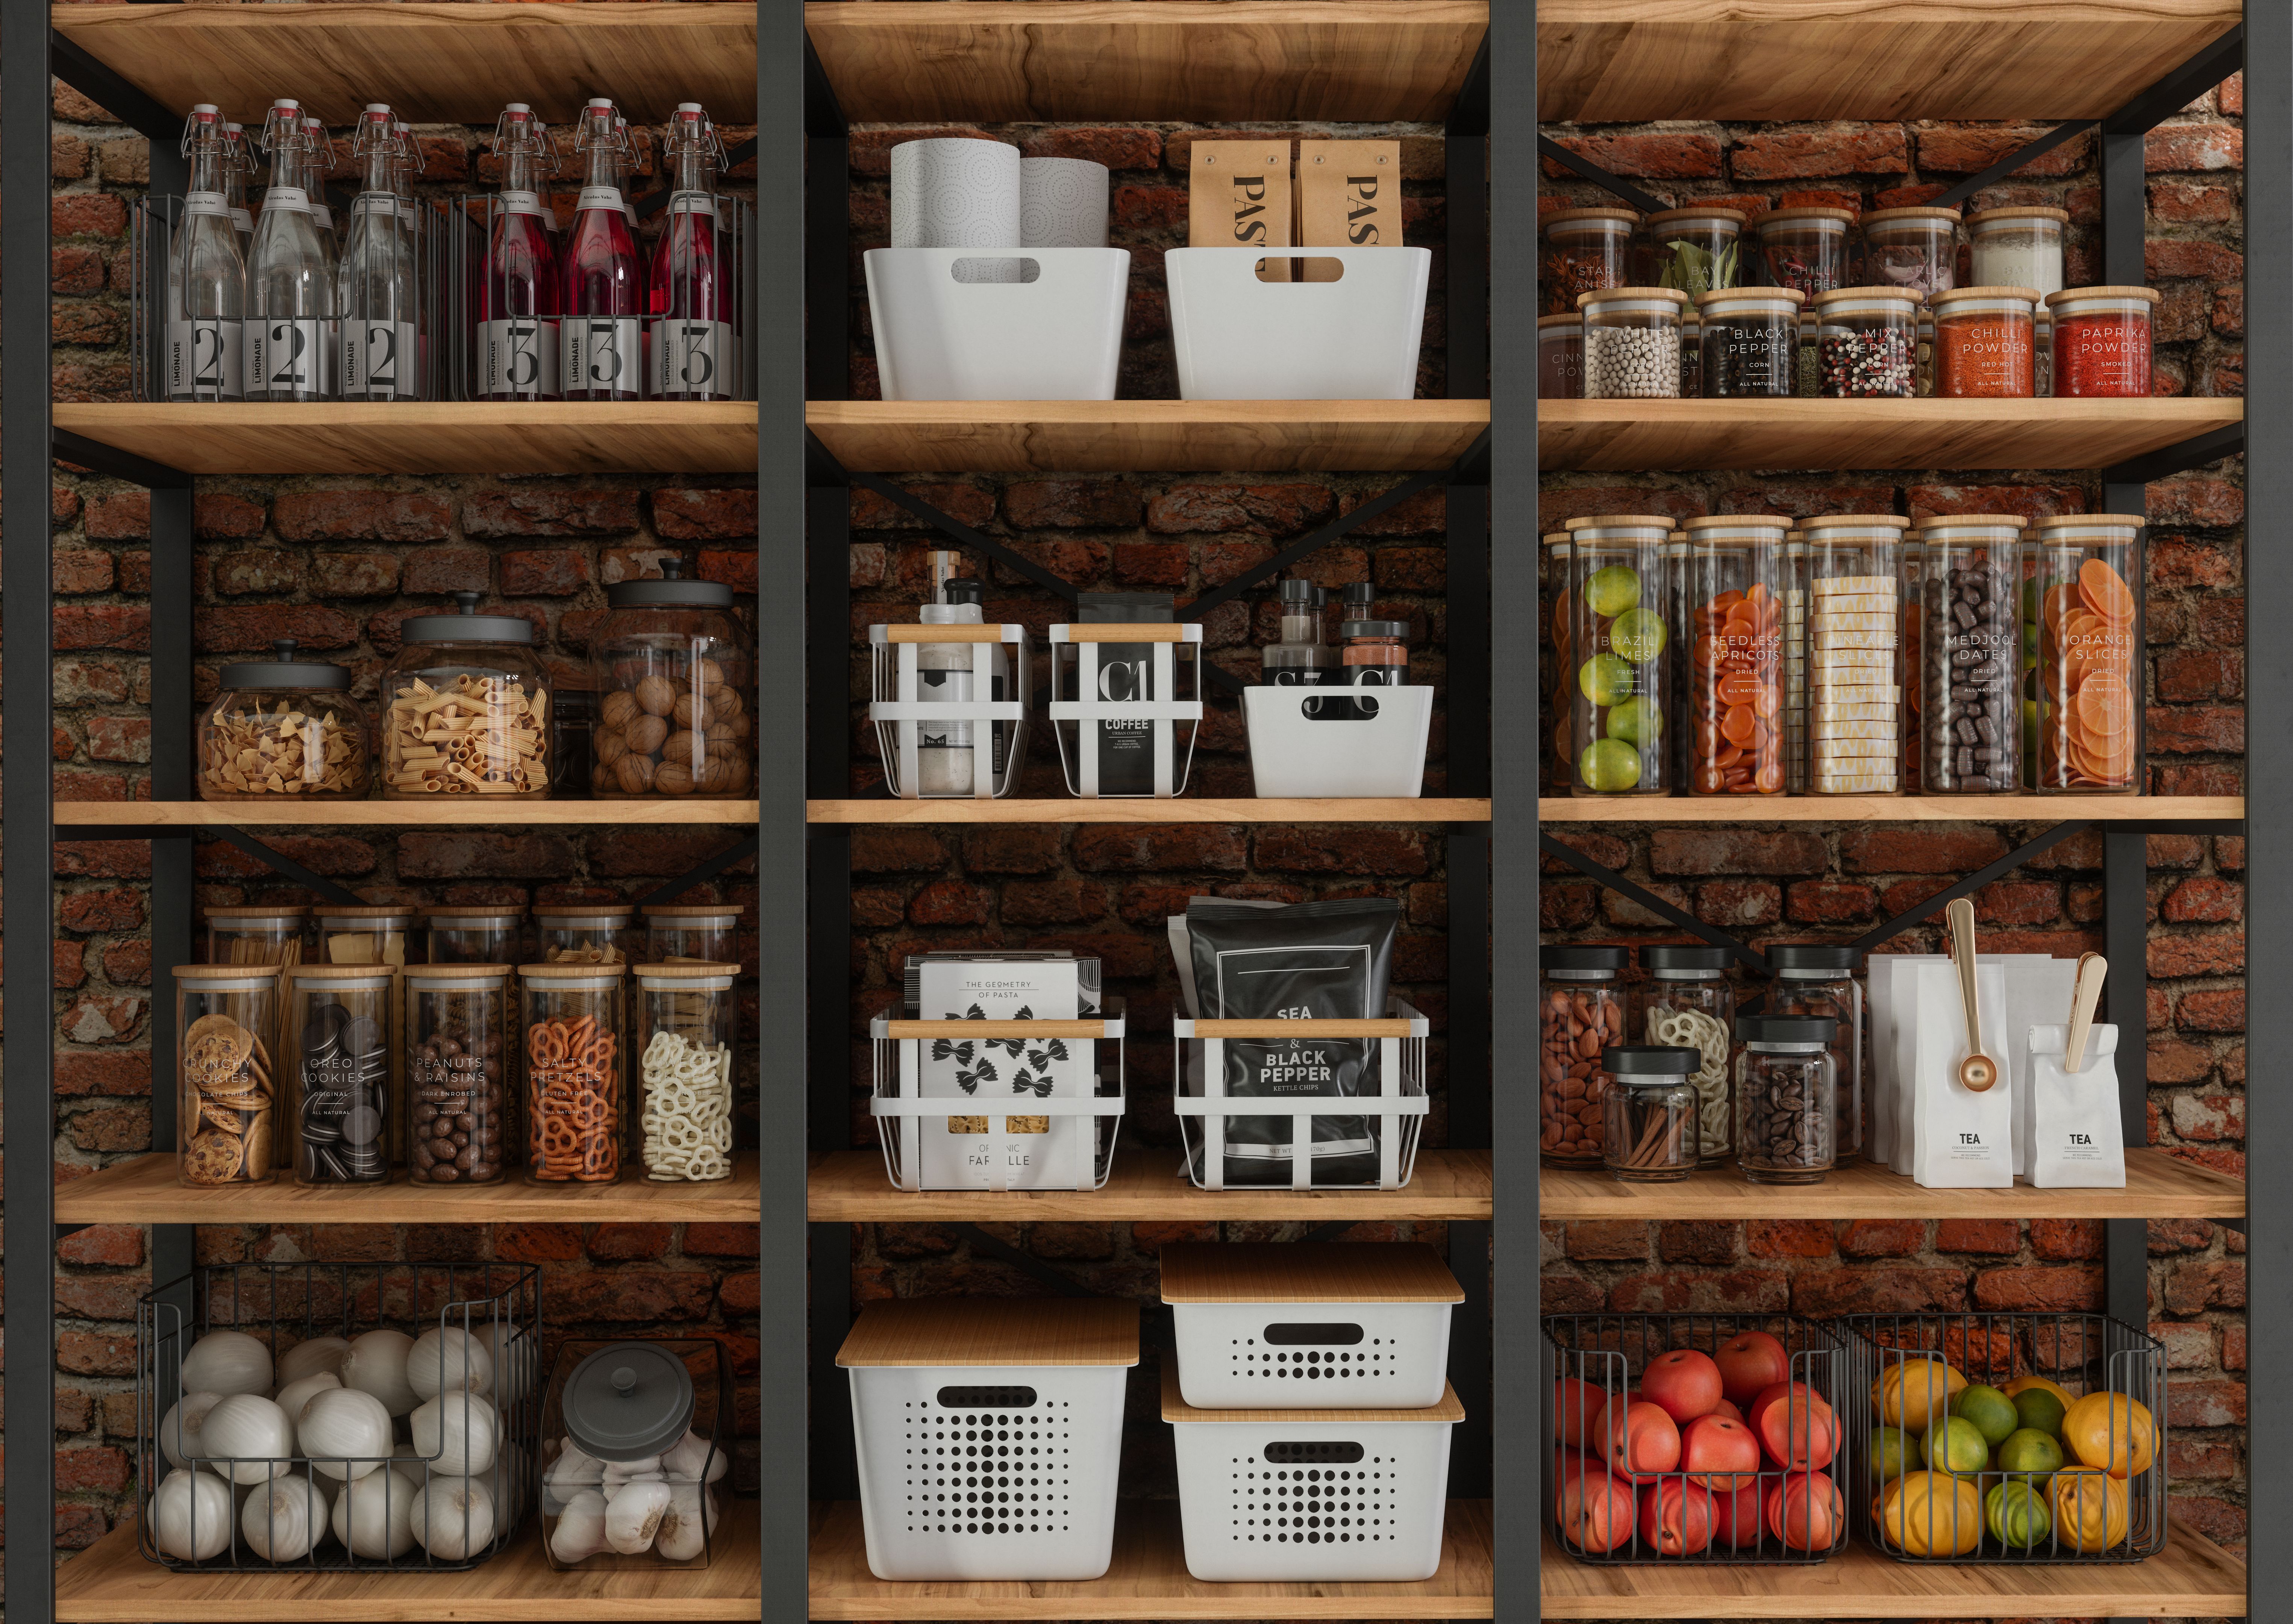
Essential Equipment
Setting up your kitchen requires minimal equipment. You'll need a few jars or trays, cheesecloth or mesh lids, and some space in your kitchen. A well-ventilated area with indirect sunlight is ideal for sprouting. The equipment needed is inexpensive and readily available at most health food stores or online.
The Sprouting Process
Soak and Rinse
Soaking is the first step in the sprouting process. Place your chosen seeds in a jar and cover them with water. Let them soak for 8 to 12 hours. After soaking, rinse the seeds thoroughly with fresh water. This step is crucial to remove any toxins and ensure healthy growth.
Sprout and Harvest
After rinsing, drain the seeds well and place the jar in a tilted position to allow excess water to escape. Rinse and drain the seeds twice daily until they reach the desired size. Depending on the seed type, this process can take 3 to 7 days. Once ready, sprouts should be stored in the refrigerator and consumed within a week.

Delicious Recipes with Homegrown Sprouts
Sprout Salad Delight
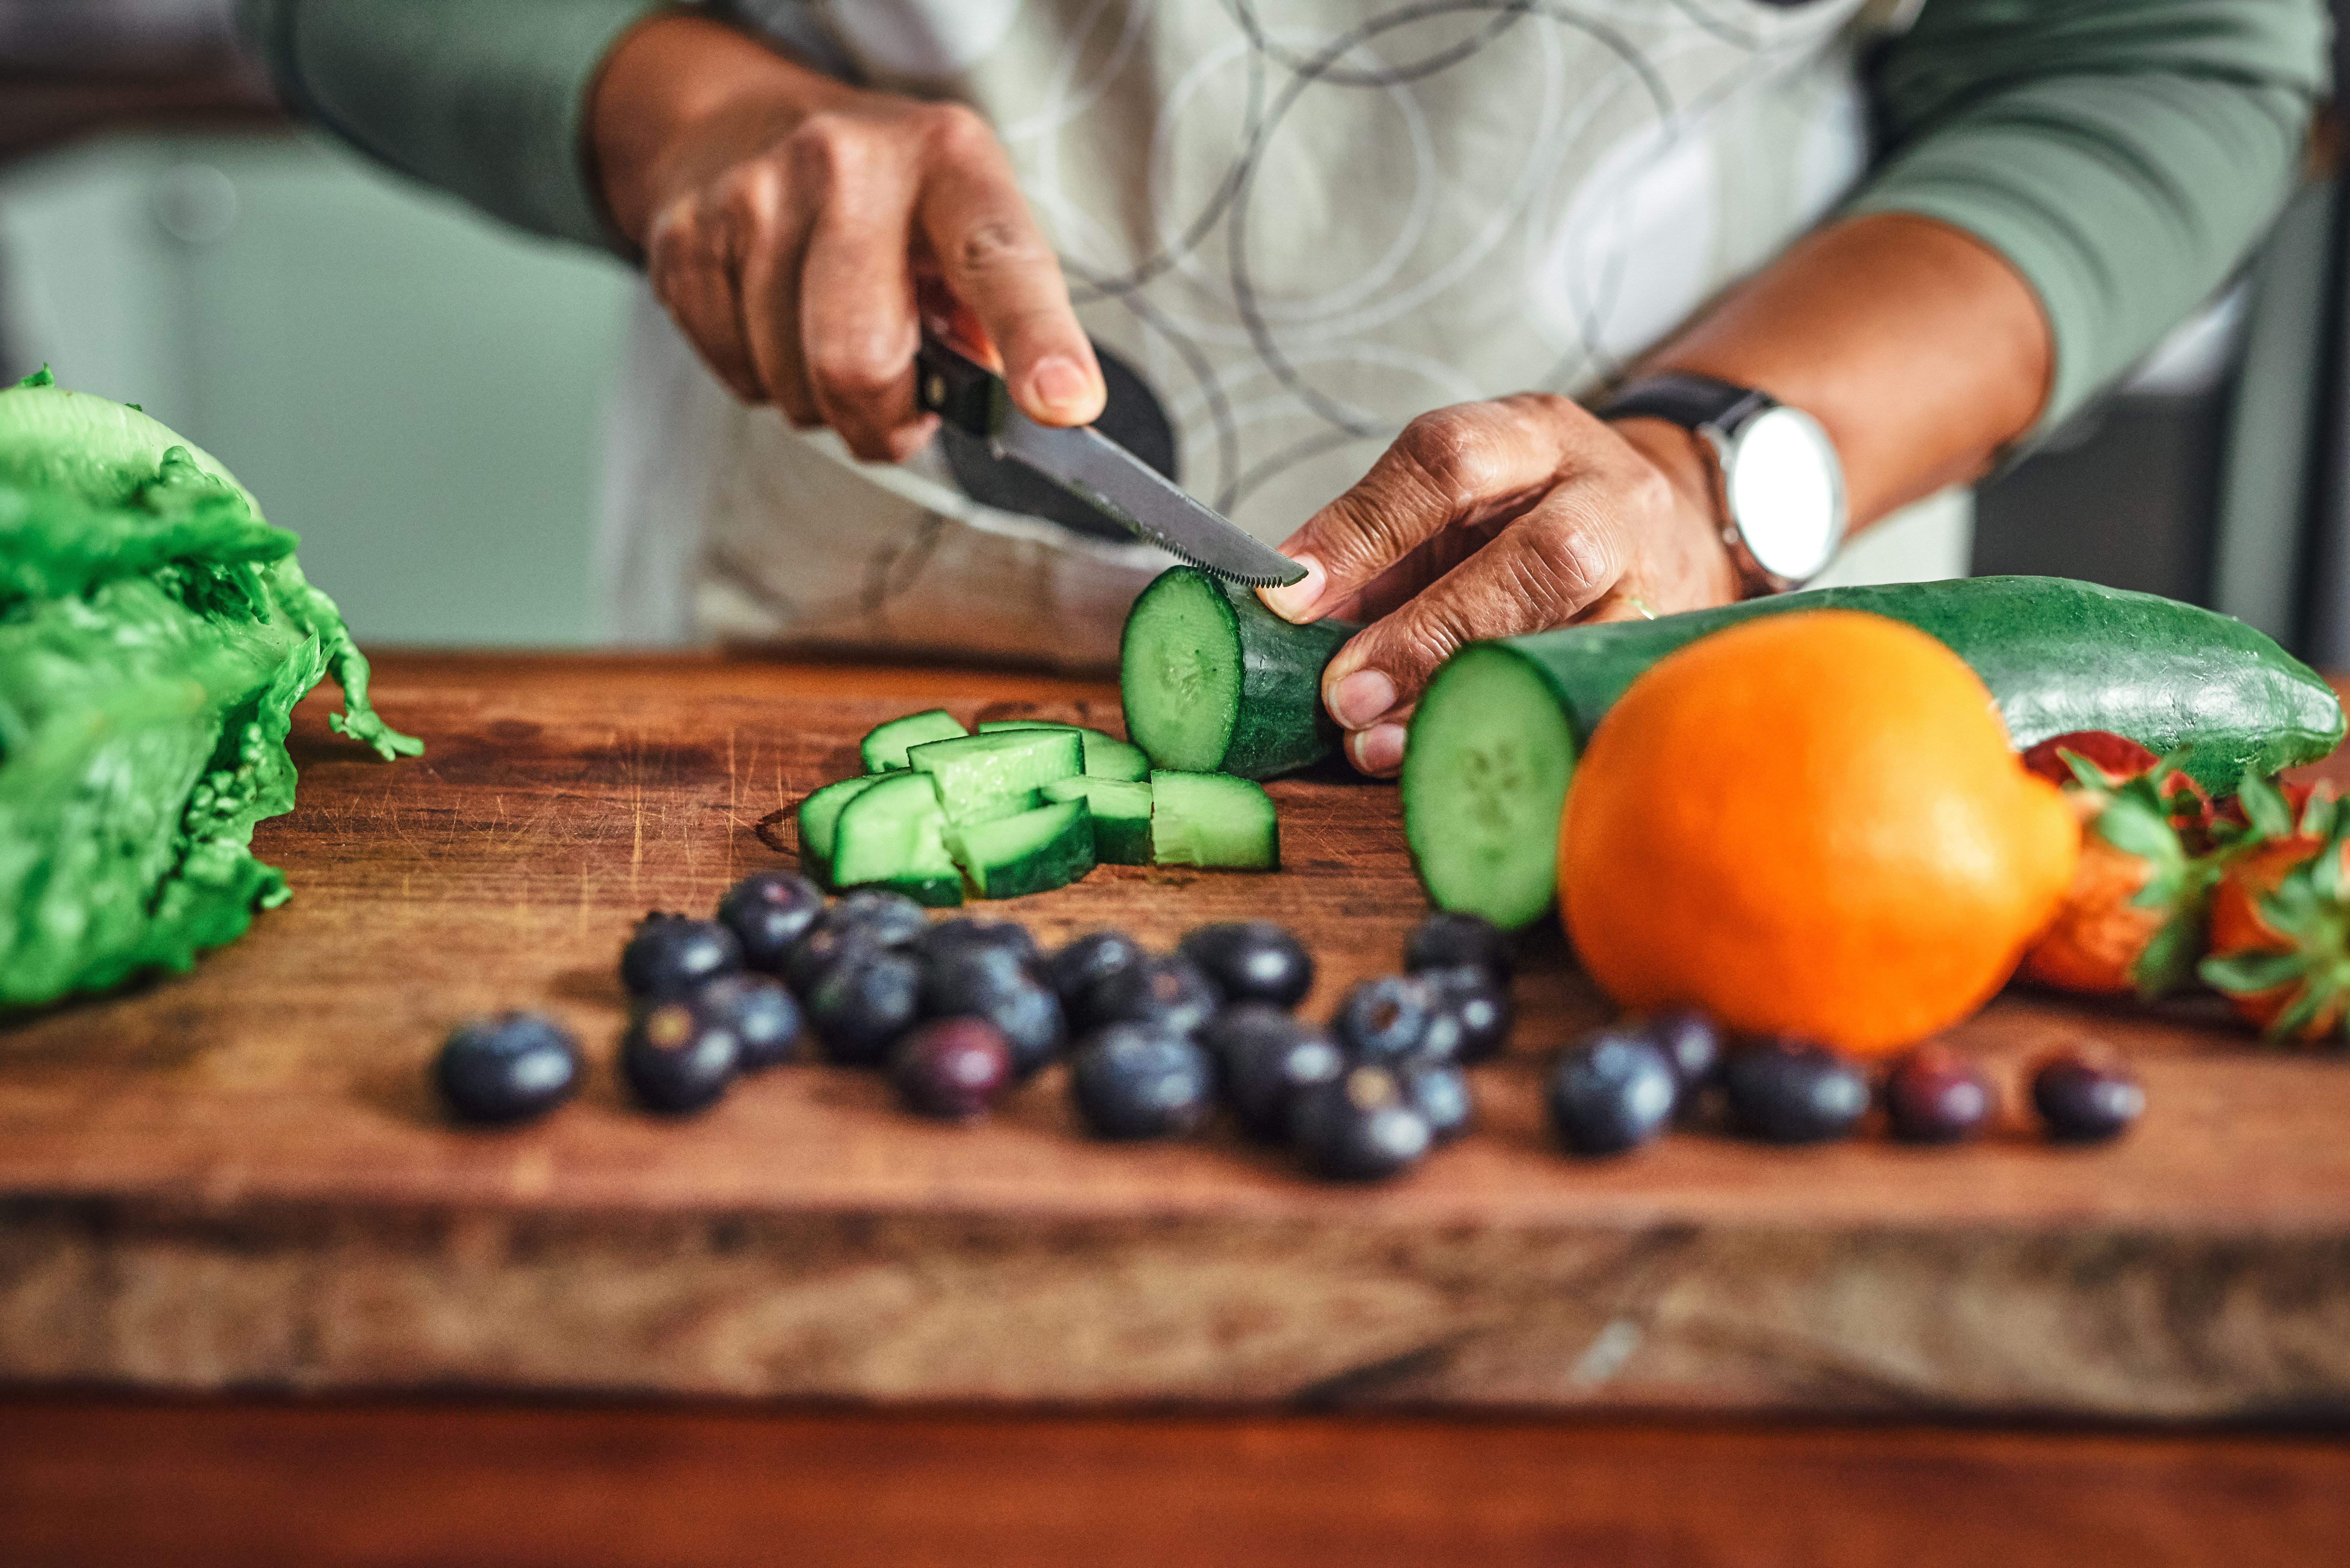
A vibrant sprout salad is a perfect way to enjoy your homegrown greens. Combine a mix of alfalfa, broccoli, and radish sprouts with chopped cucumbers, cherry tomatoes, and red onions. Dress with olive oil, lemon juice, salt, and pepper for a refreshing meal.
Sprout Stir-Fry
For a heartier option, try a sprout stir-fry. Sauté garlic and ginger in sesame oil, then add mung bean sprouts along with your favorite vegetables such as bell peppers and carrots. Season with soy sauce and serve over rice or noodles for a quick dinner.
Embrace Sustainability with Sprouts
Integrating a green sprout kitchen into your home not only boosts your health but also supports environmental sustainability. By growing your own sprouts, you reduce reliance on store-bought produce wrapped in plastic and often transported over long distances. This small change can have a significant impact on reducing your carbon footprint.
With these tips and recipes, you're well on your way to enjoying the benefits of fresh sprouts right from your kitchen. Happy sprouting!